Tampa Pool Plumbing Layout: A Homeowner’s Review Guide
September 29th, 2026 | by jackiec
A good pool plumbing layout gives water a clear route through the pump, filter, heater, sanitizer, and back to the pool. Before the pool plumbing system is buried, you should be able to identify each line and understand how it will work.
That matters even more with a pool and spa. A neat-looking equipment pad can still hide a hard-to-use valve or a pipe run that conflicts with an equipment manual. We recommend reviewing the water path first, then checking the details against the plans and model-specific instructions.
Trace the water from the pool to the equipment pad
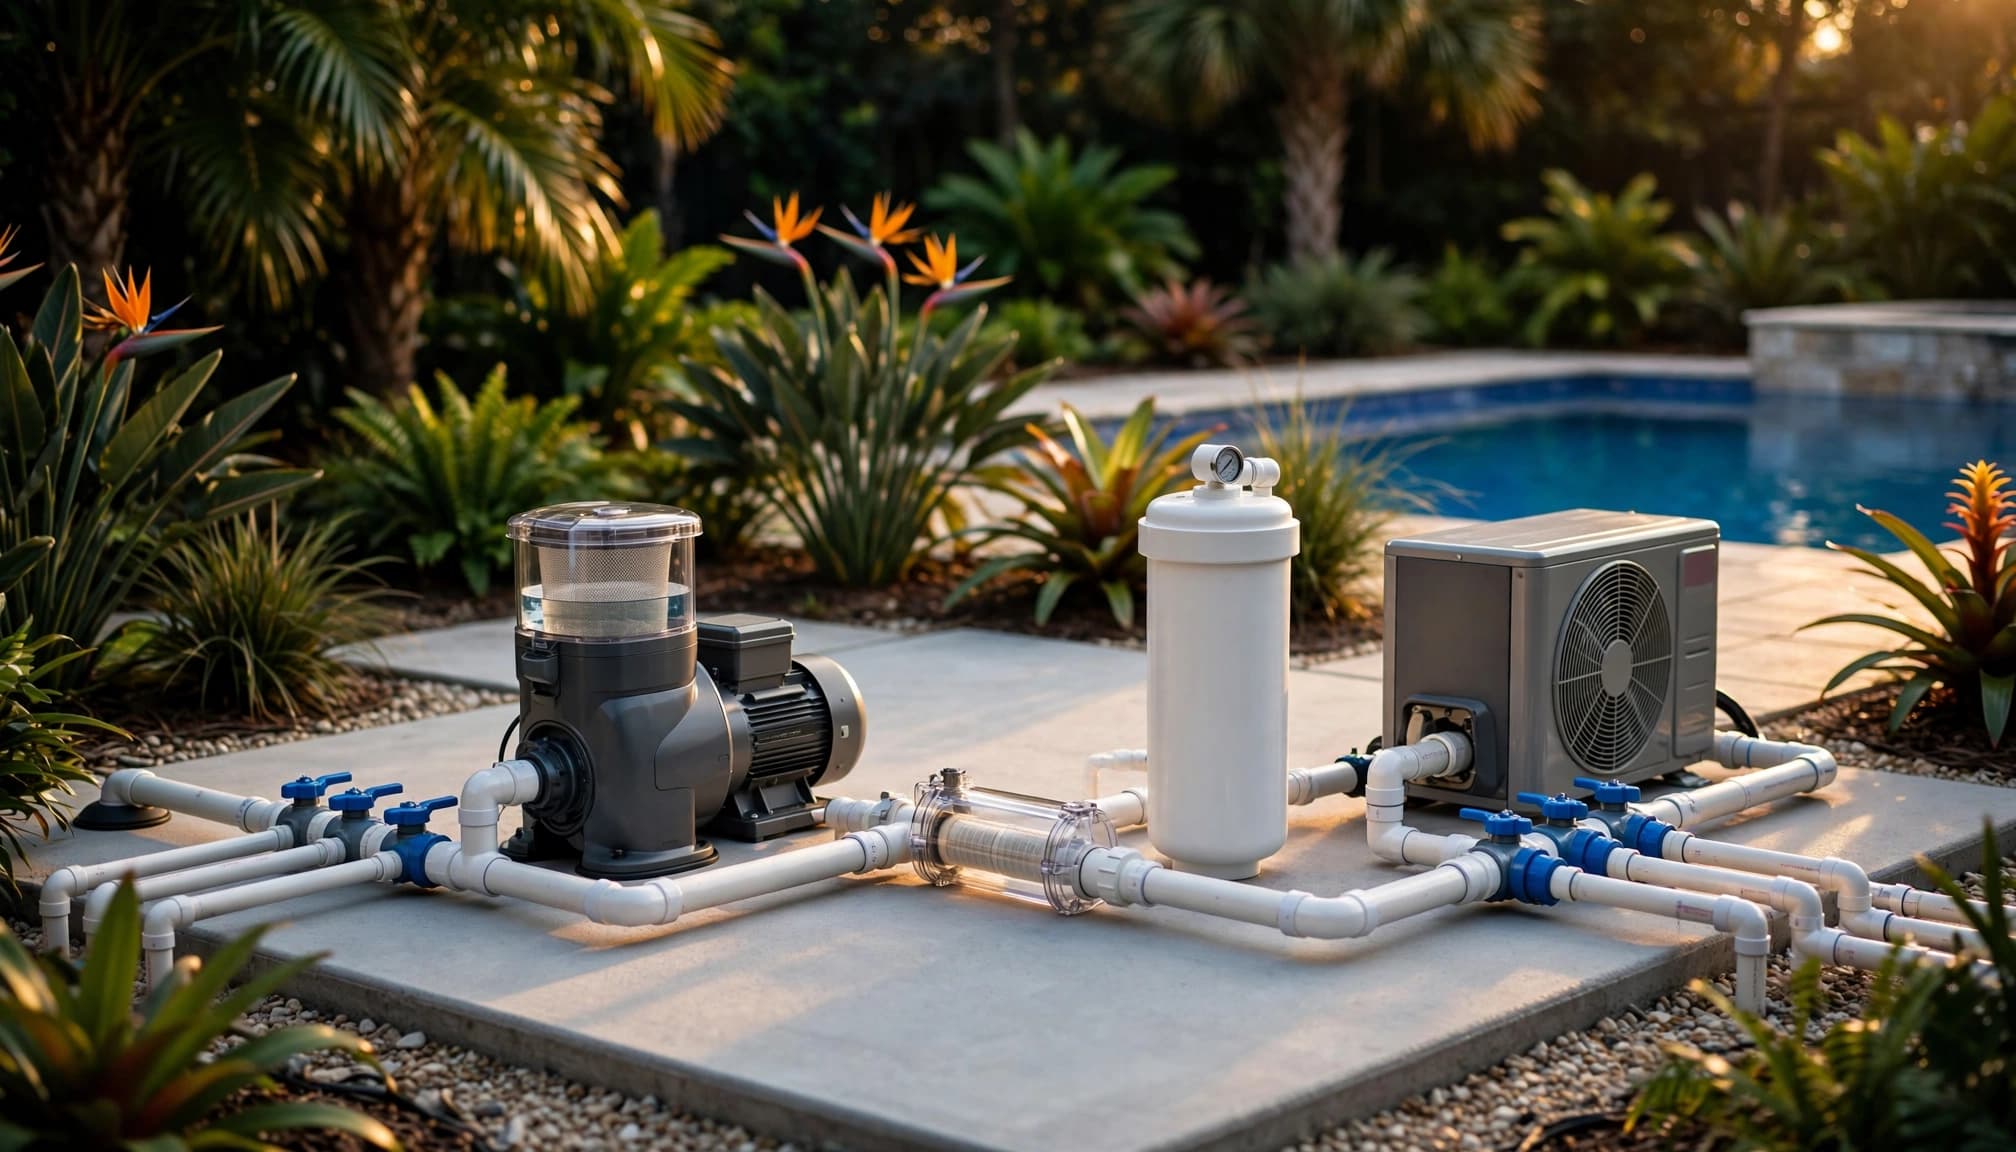
Start at the pool and follow the water flow toward the equipment pad. If a builder can’t explain which line serves each feature, ask for a marked-up plumbing plan before the trench is covered.
Which pipes bring water to the pump?
The suction side carries water from the pool or spa to the pump. Depending on the design, it may include one or more skimmer lines, a main drain or other submerged suction outlets, and a dedicated spa suction line. A fiberglass pool shell doesn’t change these basic circulation needs.
At the pad, the lines may meet at a valve manifold. Ask the builder to identify each pipe while it’s still visible. Photos of the open trench and labeled pad will make future service much easier, especially if landscaping later hides the route.
Where does water go after the pump?
Water normally leaves the pump, passes through a filter, then through any heater or heat pump and the sanitizer before returning to the pool. A pool and spa combination may split the return flow between pool inlets, spa jets, and a spillover. Some designs also have separate equipment for certain features.
We like to review the return lines by name, rather than accept a drawing that says only “returns.” You should know which outlets will run during normal filtration, spa mode, and any water-feature mode.
Check the pump inlet and underground pipe route
A crowded pad often traces back to routing decisions made well before the equipment arrived. Review the trench plan and the space reserved around the pool pump together.
Why does the pump need straight pipe before its inlet?
A sharp turn immediately before the pump can disturb incoming flow. Pump manufacturers commonly specify a straight suction run to help water enter evenly. Pentair and Hayward manuals, for example, describe a minimum of five pipe diameters before an inlet fitting. That works out to 10 inches for a 2-inch pipe, or 12.5 inches for a 2.5-inch pipe.
Those measurements are examples of manufacturer guidance, not a universal Florida code rule. Check the exact pump manual, pipe size, and installation drawing. If the pad puts an elbow against the pump inlet, ask how the proposed setup meets that model’s instructions.
Are the trenches planned or improvised?
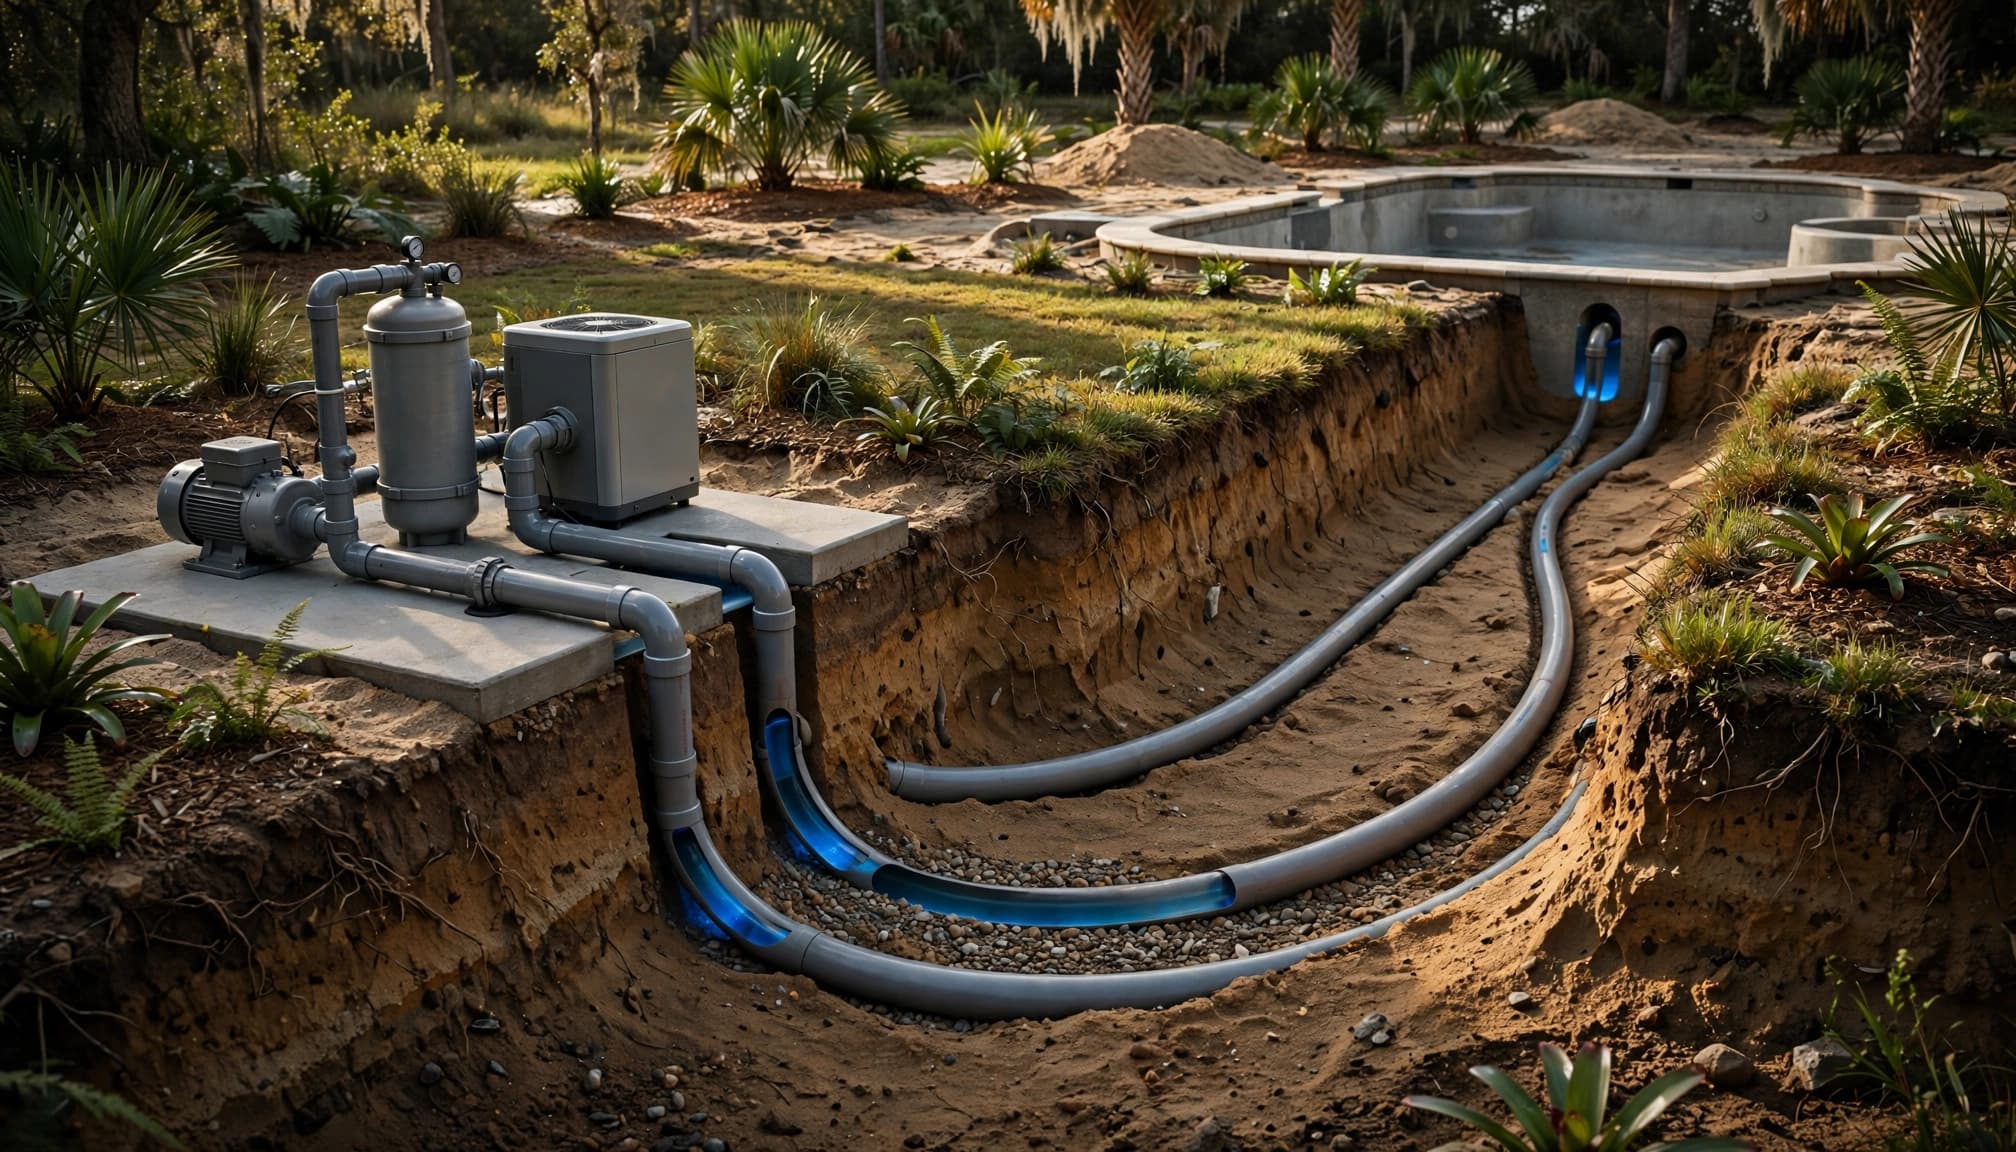
The proposed pipe setup should account for the shell, deck, screen-enclosure footers, irrigation, and other buried utilities. Every turn has a purpose, but a maze of tight bends may make circulation and later repairs harder than necessary.
In a Tampa-area yard, we also look at where runoff will go and whether the pad stays accessible after landscaping. Ask for trench photos before backfill. If a line ever needs tracing, those pictures can save considerable guesswork.
Review the heater, bypass, and salt cell in order
The usual circulation sequence is pump, filter, heater if installed, sanitizer, then returns. Valves and bypasses can create branches, so trace the actual flow instead of judging equipment by its position on the pad.
What does a heater bypass do?
A heater bypass lets some water flow around the heater when the design calls for it. It can help keep flow through the heater within the model’s specified range. For example, Pentair’s MasterTemp instructions call for a manual bypass when pump flow exceeds 120 gallons per minute. That threshold applies to that heater’s guidance, not every pool.
If you see one, ask which valves control it and how the installer will set them. The drawing should show where water rejoins the main return line. Make sure the setup won’t accidentally isolate the heater or other equipment.
Where should a salt chlorine generator go?
A salt cell generally belongs on the return side, after the filter and heater, as specified in the installed model’s manual. The Pentair iChlor installation guide gives placement and clearance instructions for that product; other brands may differ.
For a pool and spa, ask whether water that passes through the heater bypass reaches the cell after the branches rejoin. Check the selected heater or heat pump and chlorinator manuals for any required check valves and straight-pipe lengths. The equipment model numbers matter more than a generic pad sketch.
Understand the valves on a pool and spa combination
In a pool spa combo, pool valves determine which bodies of water supply the pump and where filtered water returns. Jandy AquaLink automation can move these plumbing valves, but you should still understand their positions.
How does a three way valve work?
A three way valve, also called a diverter valve, directs flow among three ports. On a common pool and spa suction setup, the center port leads to the pump while the outer ports connect to pool and spa suction lines. The return side may have another diverter to select pool or spa outlets.
Unlike a typical household shutoff valve, a diverter’s handle alone may not tell you which line is blocked. On valves marked OFF, that marking generally points toward the closed port, but confirm its meaning on your installed model. Have the builder demonstrate pool mode, spa mode, and spillover mode with the system operating.
What is the check valve protecting?
A check valve allows flow in one direction. Depending on where it’s installed, it may protect a heater against chemical backflow when the pump stops. In some pool and raised-spa arrangements, a correctly placed check valve may help prevent unwanted water loss through a return line toward the spa drain.
Its job depends on the piping around it. Ask the builder to point out its flow arrow and explain the condition it prevents. One check valve on a pad shouldn’t be assumed to solve every possible spa-draining or heater-protection issue.
Look for service access, not just tidy pipes
Good workmanship leaves room to operate valves, open the filter, remove a pump lid, and replace equipment. If the selected filter is a cartridge filter, check that it can be opened and serviced easily. Ask how a technician would change the salt cell or service the heater without cutting through unrelated pipes. Unions and sensible pipe supports can make that work more practical.
Visible warning signs deserve questions, not an instant verdict. Watch for unsupported pipes, stressed connections, valves blocked by walls, unexplained capped lines, and water collecting around electrical or mechanical equipment. A few elbows alone don’t prove a bad installation; their placement and the resulting flow matter.
Tampa’s heavy rain also makes pad drainage important. Landscaping should not trap water against equipment or take away the service path. If you are comparing proposals, our Tampa pool builder estimate guide explains why the equipment set, plumbing scope, and exclusions belong in the written quote. That detail makes it easier to compare what builders intend to install.
Match the layout to plans, safety rules, and inspections
A homeowner’s visual review helps you ask better questions, but it doesn’t replace approved plans, equipment instructions, or a qualified professional’s inspection.
What should the plans show before installation?
Before pool installation begins, ask for the site-specific layout, equipment selections, and a plumbing drawing that identifies suction and return branches. Mark proposed features such as a raised spa or waterfall before construction starts. Moving a feature later can change pipe routing and pad space.
Check which permitting authority applies to your property, and confirm whether your HOA requires separate approval. Our Tampa pool construction timeline puts plumbing work in context with the other build stages.
Which safety details need professional review?
Submerged suction outlets need review by a qualified professional. Ask the builder to check the approved design against the applicable requirements, including the Florida Residential Code’s private-pool chapter, and explain how it addresses the outlets and their covers.
Plumbing is also inspected in stages because buried work becomes hard to verify after backfill or concrete. Confirm who schedules required inspections and when you can photograph the installed lines. Don’t change suction valves or remove outlet covers to test the system yourself.
Make the builder walk through every operating mode
Before finalizing a design, we recommend a short, practical walkthrough with the plumbing plan in hand. Trace normal pool circulation first, then switch to spa heating, spillover, and any water features. At each step, ask which suction and return lines are active.
For an existing pad, start with photos taken from several angles and record the pump, heater, automation, and salt cell model numbers. Note symptoms such as a spa level that falls when the pump stops, weak returns, frequent loss of pump prime, or water near a fitting. Share those observations with a qualified pool professional rather than adjusting unfamiliar valves.
Keep the final line map, equipment manuals, and trench photos with your home records. If you’re planning a new build, our pool design consultation checklist can help you gather equipment and site questions before the first meeting.
Key Takeaways
- Follow the water path from each suction outlet through the equipment and back to each return.
- Check straight runs, clearances, and component order against the installed models’ manuals, not a universal pad diagram.
- Ask what every diverter, bypass, and check valve does in pool mode and spa mode.
- Compare visible work with the approved plans, and photograph pipes before they are buried.
Frequently Asked Questions
Does every pool need a heater bypass?
No. The need depends on the heater, pump flow, and plumbing design. Some heaters have model-specific bypass requirements when flow exceeds their limits. Ask the installer to show you the heater manual and explain how flow through it will be checked.
Is a 90-degree elbow next to the pump always wrong?
It deserves review if it’s immediately before the suction inlet. Many pump manuals call for a straight section there, but the required length depends on the model and pipe diameter. An elbow elsewhere on the pad isn’t, by itself, evidence of a faulty build.
Can a salt cell go before the heater?
Follow the chlorinator and heater manufacturers’ instructions rather than a general rule of thumb. Common installations place the cell downstream of the heater on the return side. If yours appears elsewhere, request the model-specific installation drawing and ask how backflow protection is handled.
A layout you can understand is easier to maintain
A pool plumbing layout shouldn’t leave you guessing which pipe serves the spa or why a valve is there. Trace the flow, check the equipment manuals, and keep a record of the work before it’s hidden.
If you’re planning a Tampa Bay pool, we can review your backyard goals and equipment questions together. Explore our new pool construction and design services, then book a free consultation or call 813-474-2024.